Do you have your WordPress Website? Are you about to start your own Podcast with your WordPress? If your answer is yes, you are in the right place.
What is a Podcast?
A podcast is an episodic series of audio files that users can subscribe to download and listen to.
If you want to make your podcast work properly, you have to implement an audio file and an RSS Feed that users can subscribe to stay updated and download new episodes.
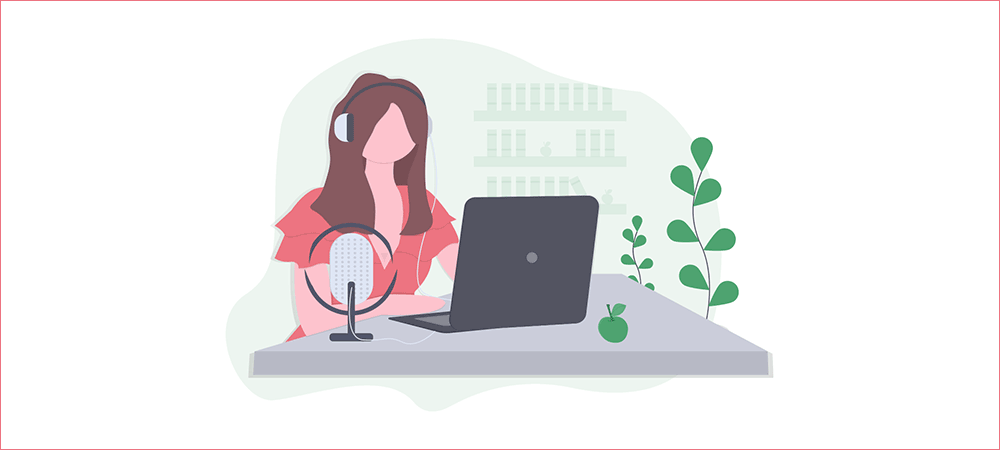
Since WordPress comes with a built-in RSS feed system for blogs, several podcasters prefer to use WordPress as their podcast website platform.
To give easy access to your user to listen and subscribe, you need to connect a podcast website with podcasting apps like iTunes.
Today, in this article I am going to discuss the Podcasting setup, its works, and the way how you can start it.
So go through this article without missing any line. It will help you to start your own podcast perfectly.
Here have a look:
Niche and Topics for Your Podcast
While starting a Podcast for your site, its name plays an important role. There are several Podcasts available there.
You need to select the best topic for your site. For choosing this, at first, you need to determine your audience and their interesting categories.
By doing this, you will get more ideas about the Podcasts. You should select your Podcast according to your site’s content.

Suppose your podcast is about music then you can narrow it down to a particular genre, era, region, or artists.
There are several Podcasts on the market, so remember one thing, you need to compete with the one available on the market.
One of the easiest ways to compete with others is, to be yourself and get unique insights, perspectives, styles, and voice them.
Now let me describe to you the steps with which you can easily start your own podcast.
Let’s get started:
Step 1. Website Setup
The first thing you need to think about starting a website is its platform. As we are going to describe to you podcasts on WordPress, so I suggest you choose WordPress.org for your site. It is a self-hosted platform that will be very for podcasting your site.
WordPress is easy to use and offers thousands of plugins and themes. With this, you can make money without any restrictions.
To start your website, you need to apply a domain name and hosting for it. I think you all know about the domain name and hosting. But let me describe basic information.
A domain name is your website’s address on the internet. And web hosting is your website’s house on the internet where your all files are stored. There are several hosting available in the WordPress directory.
I suggest you go with SiteGround. It is one of the largest and most recommended hosting providers by WordPress.Org.
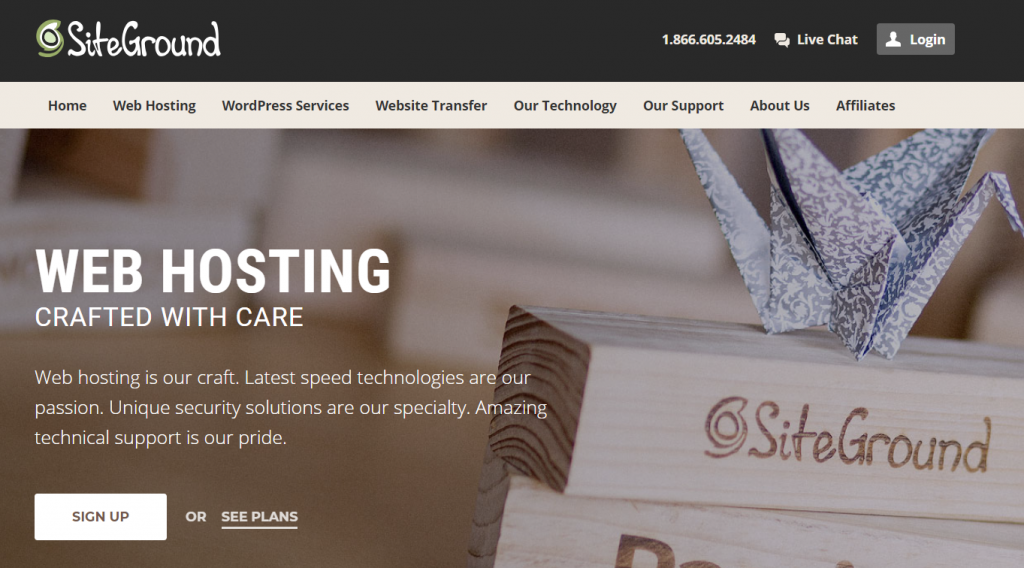
Step 2. Setting up a Media Hosting Service
Once you set up your WordPress, the next thing to do is set up your media hosting service.
If you serve your podcasts from your web host, it will slow down your website and make it unresponsive.
And I don’t think anyone wants this to happen with their website, do they? So I suggest you use a podcast-specific media hosting platform. (Like Blubrry).
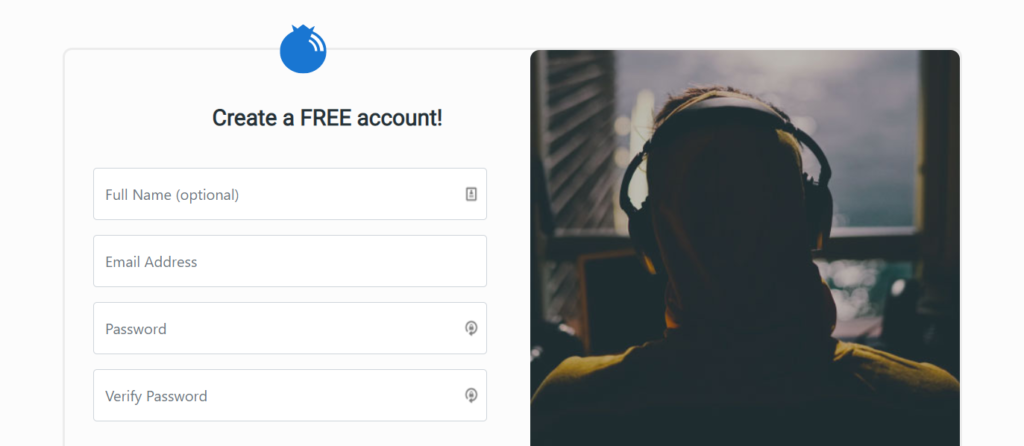
While choosing your media hosting, make sure it is suitable enough for your site. Here is the reason why to choose Blubrry for your site:
- Help you to manage your podcast from a WordPress site easily
- Comes with a large user community consisting of many successful podcasters
- Comes with great tools like ID3 tagging, iTunes optimization, and automatic media artwork management
- Have a top-tier content delivery network
- Makes your content delivery faster and more reliable
Step 3. Podcasting Equipment
If you want to make your podcast powerful and more reliable, you need to select the best equipment for it.
Among all those equipment, the most important one is a good microphone, as a computer’s built-in microphone will produce terrible sound quality for your user.
Some other equipment are a mic arm, shock mount, decent headphones, and a pop filter.
Step 4. Plan Your Podcast Episodes
Before recording your podcast episodes, you need to make proper planning. There are several things which you consider in your planning. Some of them are:
You need to plan your podcast episodes before you sit down to record them. There are several important decisions that you need to make.
- Content Episode
- Length of Episodes (between 20 minutes to over an hour-long, depending upon the topic and guest interest)
- Supporting Media ( Like intro music, background music, or other sounds)
All these 3 topic is very important to include in your plan for your podcast episodes. With this, I assure you will get an outstanding podcast for your site.
If you have any friends who work in media like radio, or television, you can consult with them for better supporting media.
Step 5. Storyboarding and Scripting
The script is like homework which should be done by a podcaster before making it live on their website. If you do so, you will be focused and clear about the work.
It also provides you with a better way to present it on your site. If you arrange and manage a better script, it helps you stay focused and makes you able to sound more professional and prepared.
Once you completed your script, now you can present it on your site. Make sure your script is not boring and your audience gets it as a story that entertains them enough.
I believe that you are well prepared for this.
Step 6. Record Your Podcast
Now once you completed your script, it’s time to record it. If you want a better result, make sure you are using audacity for your recording.
Audacity is amazing audio recording software that is used by most podcasters. As it is free, cross-platform, and open-source software, you can easily record studio-quality professional podcasts.

You can record using Audacity in the following ways:
- Install Audacity for your site
- Open and go to the File menu
- Create a new project
- Click on the record button
In this way, you can successfully record your first ever podcast. You need not worry about awkward pauses, breaks, coughing, or any glitches. You can deal with these all very easily.
If anything gets wrong, you can edit it as many times as you want. After this all, now it’s time to export your recorded podcast.
You can edit the recording as many times as you want. For better results and good quality, it is better to upload in audio format like WPB001.mp3 or WPBep001.mp3.
Step 7. Upload Media Files to Blubrry
You need to upload your podcast file to your media hosting service, Blubrry. For this go through the following process:
- Login to your Blubrry hosting account
- Go to Podcaster dashboard
- Click on ‘Upload New Media Files’
- On the next page click on the Upload New Media button

This way you can successfully upload your files to Blubrry. Now you can upload it on WordPress.
Step 8. Publish Your Podcast with WordPress
Up to now you have completed your script and series as per the script and uploaded all the files to Blubrry.

Now you need to publish all of your recorded episodes with WordPress. I will provide you with some easy processes to do so, here have a look:
- Login to the admin area of your WordPress
- Install and activate the Blubrry PowerPress Podcasting Plugin
- Click on PowerPress Menu
- Configure Blubrry statistics and hosting services
- Enter your Blubrry hosting account email and password
- Go to the setting page and fill out the information
- Provide a title for your podcast
- Fill out iTunes fields for description, category, subtitle, artwork
- Click on the ‘Save Changes’ button
Finally, you are able to publish the Podcast with your WordPress.
Step 9. Setting Up Smart Podcast Player
Smart Podcast Player, developed by Patt Flynn, one of the well-known podcasters is the best tool to display a podcast player on your website.
Features:
- Mobile-ready
- Costs:- $8 per month
- Allow you to play, share, and download podcast episodes from the player itself
Setting process:
- Install and activate the Smart Podcast Player plugin
- Go to setting
- Visit the Smart Podcast Player page
- Enter your license key
- Click on the ‘Player Defaults’ tab
- Provide your podcast feed URL
- Also, provide your iTunes subscription link
- Enter your show name and artist name
- Go to player design settings
- Choose a theme and color for your podcast player
- Click on the Save changes button
Step 10. Add Your First Podcast in WordPress
- Go to Posts
- Choose Add New page
- Create a separate category for your podcast episodes
- Click on the ‘Podcast Episode’ folder icon
- select the file uploaded to Blubrry media
- Paste their media file URL
- Click the verify button
- Scroll back up to the post editor section
- Put the title and description of your podcast
- Click on the STP button
- Select ‘Play a specific episode of your podcast’
- provide the URL of the Media file you want to be played
- Click on the build shortcode button
In this way, you successfully added your podcast with your WordPress. Now you are ready to go live.
Step 11. Preview the Podcast with iTunes
Once you added your podcast with WordPress, you need to preview it with iTunes. But before this, you need to check how your podcast will look on iTunes. For this, you have to launch it. To do so go through the following steps:
- Go to File
- Subscribe to Podcast
- Enter your feed URL (http://www.example.com/feed/podcast)
With these steps, your URL in iTunes will be fetched. If everything goes right, it means you are ready to preview the podcast with iTunes successfully.
Step 12. Submit Podcast to iTunes
Finally, you can submit your podcast to iTunes. Follow the given steps to do so:
- Download and install the latest version of iTunes
- Launch the iTunes
- Click on the iTunes Store button
- Find the Podcasts Quick Links section, open a link to Submit a podcast
- Submit your podcast to the iTunes directory with Apple ID
- Feed URL of your podcast
Once your URL feed is approved, you will be notified via email.
Congratulation, you have successfully started your Own Podcast with WordPress.
Wrapping Up
Finally, we did the overall process with which you can start your first-ever podcast with WordPress. It is quite an easy process, you just need to be focused and have patience while following the above process. I assure will complete your task very easily and have a great experience.
I hope you get this article is helpful to you. You are free to send your queries regarding this article through our comment section. We make sure all of your queries are answered. Keep visiting our site for more such interesting articles.


