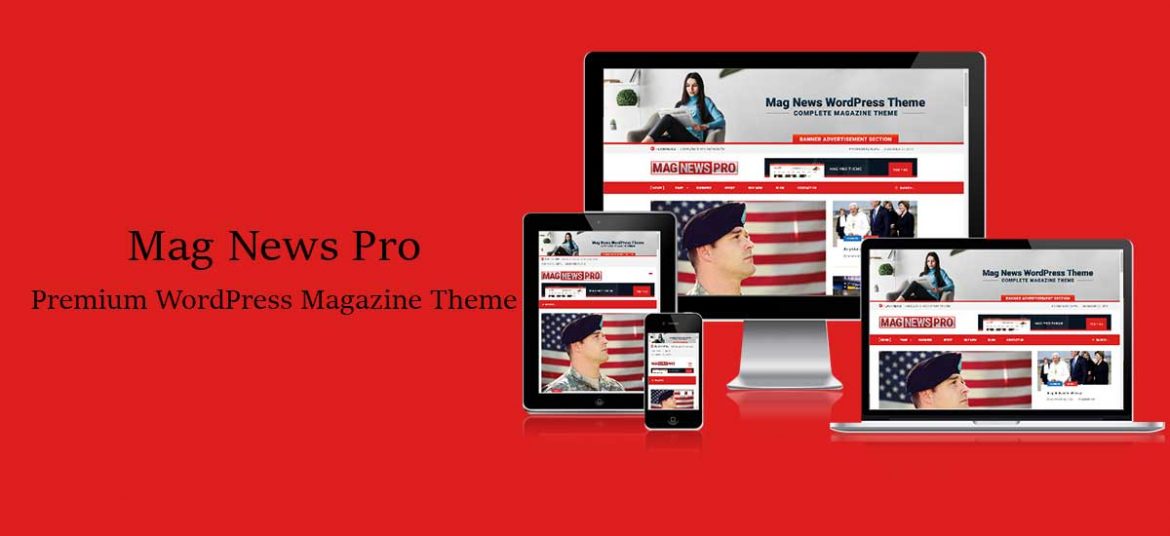
Today, we are going to introduce you to another best premium WordPress magazine theme Mag News Pro. This theme is advertisement ready with added custom widgets. In addition, it has customizer-based theme options, SEO-friendly codes, and an elegant design. Similarly, color options, font options are the added features on it. In this blog post, we will share with you the details about the features of this theme. Furthermore, we will provide you with the documentation link, demo link as well as purchase link on this post. So, stay here.
What are the best features of premium WordPress magazine theme Mag News Pro?
- The demo import is done just by a single click.
- Its design is very responsive.
- It has various advanced font and colors option.
- Mag new pro contains multiple page layout.
- Have the best footer and header layout option.
- You can get the best background color and image option in this theme.
- The news has ticker effect.
- Mag News Pro has great option custom logo and widget.
- There is a presence of reading more text option.
- The theme has contacted our page template.
- It has also a navigation option.
- Similarly, the theme has an option for social share.
From the above description, you are able to be familiar with the different features of Mag News Pro. Now, coming towards the contents of this theme. Here is a table of content of Mag News Pro.
Table of Contents
- Theme installation
- Installing Plugins
- Import Demo Data
- Create Post and Page
- Site identity
- Color
- Header Image
- Background Image
- Theme options
- Font option
- Color option
- Contact Page option
- Menus
- Widgets
- Homepage setting
- Additional CSS
Now coming towards the full description of its table of contents.
Theme Installation
Once you are with the download process, the installation process will start and it is upon you which process will you choose. Here is some installation process you can go through.
I. From the Dashboard of Admin
You have to go through the following process:
- Go to appearance from administration panels and theme then themes
- Choose the add new option
- Click on upload theme
- Open the browser and locate the zip file of Mag News Pro theme in your computer
- Choose the zip file and click on install now option.
II. Installation from FTP client
In this you have followed the following steps:
- First, unzip the zip file of Mag News Pro to your desktop.
- Access your host server using FTP client and go to /wp-content/themes/ and then
- Upload the copy of Mag News Pro theme. You just Purchased.
- Log in to the WordPress dashboard with your login information.
- Choose the Appearance panel and then click on themes.
- Now you will notice the theme in your list.
- After that click on the Activate button.
- Now the theme is activated and you should go through the further process.
Installing plugins
Once your theme is activated you will receive the notice for installing the required plugins. For this follow the following steps:
- Click on “Begin installing plugins” on your screen.
- Choose the plugins you want to install.
- Select “install” in bulk action and select the box.
- Now click on the “Apply” button.
- For best experience for user install all recommended plugins.
Import Demo Data
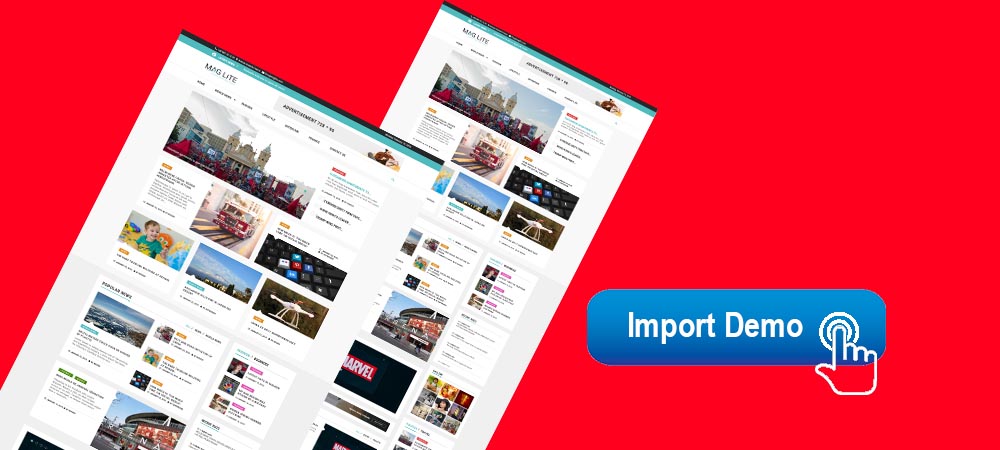
Follow the given steps to import your demo data.
- Go to appearance and then import Demo Data.
- List of the available demo will appear here.
- Choose the import option and go through the given process.
Create post and page
In this section, you have to create a new page and post and publish it. For this follow the given steps:
For creating the post,
- Click on post option and select the Add New button.
- Create a title, content, feature image and categories.
- After this, click on publish option to publish your post.
For adding a new page,
- Go to page option and choose to add a new button.
- After this add title, content and featured image for the new page.
- Then click on the publish button.
Site Identity
In the customize section go to the site identity option. Here you will notice the following option.
- Logo: It is for the main logo of your site.
- Site title: This one is for the main title of your site.
- Tagline: It is for the details of your site which will be published just below of your site title.
- Choose an option: You have to choose from the following option
- Logo only: It will help you to enable your logo only
- Logo + Title: With this, you are able to enable your site logo as well as its title.
- Logo + Tagline: After choosing this, both logo and tagline will publish.
- Title only: Only the title of your site will be published.
- Title + tagline: This will enable your title only.
- Title + Tagline: Title with its tagline will be published.
- Disable site title and tagline: With this option, you are able to enable and disable site title and tagline of your site.
- Site icon: It is taken as a browser and app icon of your website.
Color
In this section you have to go through the following steps:
- Go to the color section from the customizing section.
- You will see the option for background color.
- Choose the background color for your site.
Header Image
Here you will notice the following options.
- Header Image: You can change your site’s header image.
- Choose an option: You can choose your header image from the following
option.- None: No any header image will be published.
- Header Image: This will enable you to select only one image for your all post.
- Featured Image: Your featured image will become header image of your all post.
- Enable top header image: You will be able to enable and disable your header image in this section.
- Upload a top header image: Here you can set a header image for your site.
- Enable your header title: You will able to enable and disable your header title by this option.
- Enable post Meta: By this selection, you can enable or disable your Meta.
Background Image
In the background image section, you will receive the following options.
- Background image: You can set a background image for your website with this option.
- Preset: You can set your image in advanced.
Theme options
In the theme options, you will be able to set the following options.
- Categories color setting: Here you can get the option for different color categories like business, lifestyle, politics, sports, travel, world etc. You have chosen these color options.
- Header setting: Here you will get the following options.
- Enable top header: Here you can enable or disable the top header.
- Enable Header Absolute: With the help of this option you can enable or disable header in an inner page of your site.
- Header Layout Option: Here again you will receive the following options.
- Style 1: You can select layout as style 1
- Style 2: You can select layout as style 2
- Style 3: You can select layout as style 3
- Top left header option: This option let you choose the left header of your website.
- Top right header option: From this, you can choose top right header for your site.
- Address: You can edit the address for your website.
- News Ticker Title: This enables you to edit News Ticker Title.
- Select category: By the help of this option you can select a category for your News ticker.
- The number of news ticker: The number of news ticker for your site can be selected by this option.
- News ticker speed: The speed for your news ticker as you want can be selected here.
- Upload an Advertisement image: You are able to choose an advertisement image for your site.
- Advertise image link: Here you can put a link to your advertisement image.
- Menu setting: In menu setting, you will able to choose from following options.
- Enable search section: You can enable or disable the search option for your site.
- Enable menu section: This will help you in enabling and disabling the menu option of your site.
- Blog setting: Similarly in a blog setting, you will receive the following options.
- Sidebar layout section: You can choose the layout of the sidebar for your site.
- Right sidebar: By choosing this right sidebar will be
selected for your site. - Left sidebar: By choosing this left sidebar will be selected
for your site - No sidebar: There will be no sidebar for your site.
- Right sidebar: By choosing this right sidebar will be
- Author: This option helps you to enable and disable author of the site.
- Posted date: This gives you option so that you can publish the post date or can hide it.
- Share: You are able to enable your share.
- Enable comment count: this option let you enable or disable the comment count.
- Blog layout: You can get the following option for your blog layout.
- Full Width: You can set full layout for your blog.
- List alternate: you can set alternate list for your blog in your site.
- Sidebar layout section: You can choose the layout of the sidebar for your site.
- Pagination Options: For the pagination process, you will receive the following options:
- Default: This will set default pagination for your site.
- Numeric: This will set number for pagination in your site.
- Single page/blog setting: This goes through the following process.
- Author Info: You can enable or disable the info of the author.
- Featured Image: These options let you enable and disable feature image for your site.
- Related post: This will help you to enable or disable the related post.
- Related post title: This option let you edit the title of your related post.
- A number of related posts: You can choose the number for your related post.
- General setting: In this, you have to go through the following options.
- Enable preloader: You can enable or disable preloader.
- Enable home content: You can enable or disable home content of
your site. - Footer setting: For footer setting, you will get the following options.
- Footer layout option: For footer layout, you have two options.
- Style 1: This helps you to select style 1 for your footer.
- Style 2: This helps you to select style 2 for your footer.
- Copyright text: Here you can edit the copyright of your text.
- Powered by text: You can edit powered by text here.
- Footer layout option: For footer layout, you have two options.
- Font Options
In this section, you have the following setting. You should go through these options.- Font family setting: In this section, you can get the various font for the menu, heading, body, paragraph, site-title, entry-meta, categories text as per your choice and requirement.
- Font size setting: Here you are able to choose a different font size for the menu, heading, and title.
- Color options
For the customization of the color, you have the following options.- General color setting: In this category, you can choose the different primary color, secondary color, Hover color, Heading Tag Color, Paragraph Tag color, Categories color, entry Meta color as per your choice.
- Header color setting: Here you are free to choose a different color for header background, top header, navigation background, navigation text, navigation hover according to your choice.
- Footer color setting: Similarly, here you can choose a different color for footer background, top header, navigation background, navigation text, navigation hover according to your choice.
- Contact page option
In this section, you can notice the following option.- Google map setting: You can upload your google map iframe in the contact page.
- Menus
To create menus go through following steps.- Go to the admin panel
- Go to appearance
- Create menu.
- Widgets
It is one of the important factors for this theme. There are 15 special types of widgets in this theme so you can easily customize your contents. - Homepage setting
For the homepage, setting goes through the following steps.- Go to the homepage from the customizing section.
- Two option will occur.
- Choose the one to set your home page and blog page.
- Additional CSS
In this, you have to go through the following process.- Choose the additional CSS from the customizing section.
- Add your own CSS by given options.
Conclusion
Well, all the above-mentioned things are very useful and helpful for you to use this theme. From this table of content, you can easily see what are the available options on the theme customizer.
In addition to the customizer settings, this theme has 13+ custom widgets required widgets area. Users can place the required widgets on the respected widget area to make the theme like the demo. It is a fully customizable theme, hence, users can easily customize it.
Do you have anything to add? Please comment below.
Start a WordPress Blog Today. It is easy.