Localhost is a hostname that means this computer. You can install WordPress locally on XAMPP on your own Windows computer for learning and testing. Having a local host environment is an essential part of WordPress workflow. Though it is sometimes a hectic task to install a local host, believe us, once it is done it’s a breeze to run and will save you a bunch of time if you need to run WordPress locally.
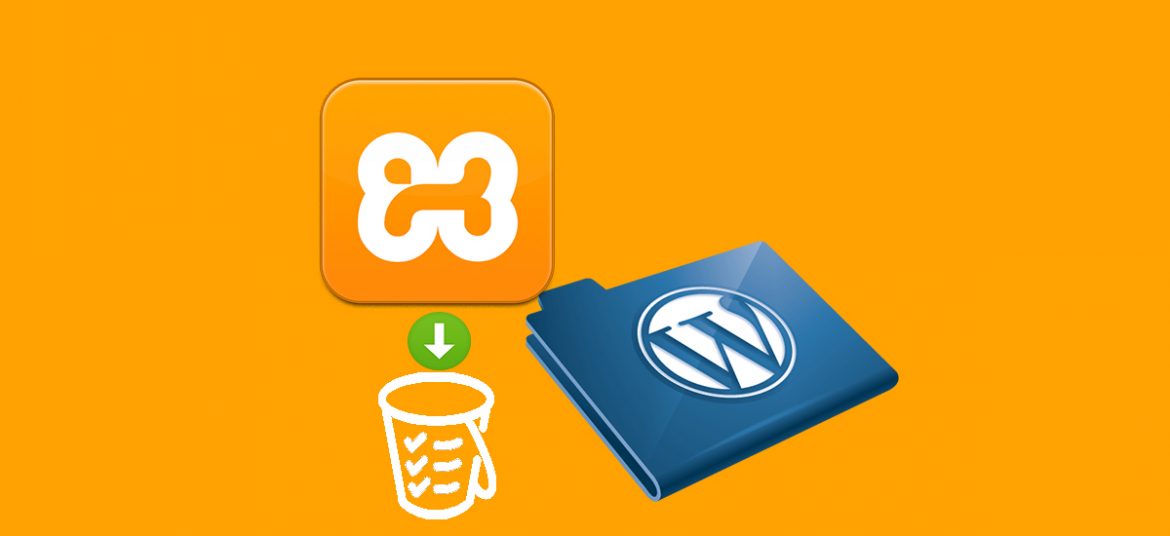
Today we will learn how to install WordPress locally on XAMPP on our computer as localhost. Below is the step-by-step tutorial prepared for beginners.
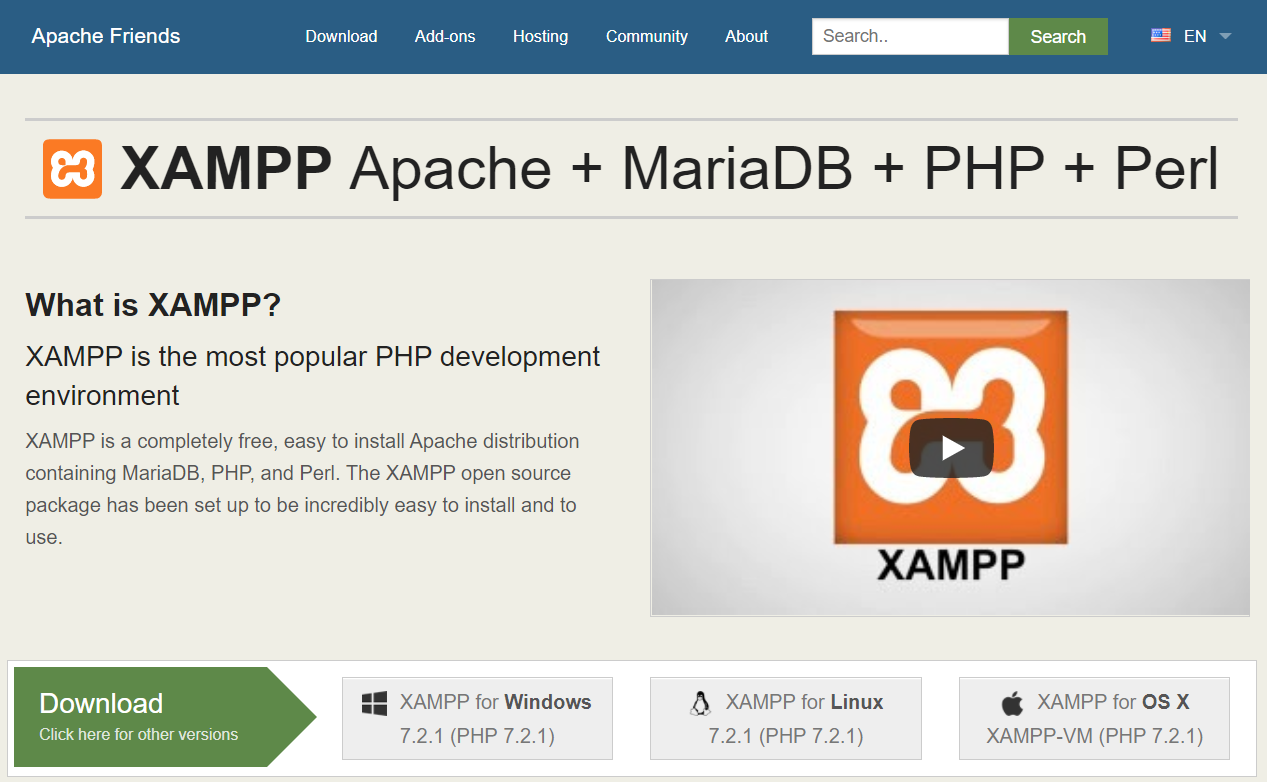
What is XAMPP?
XAMPP stands for cross-platform, Apache, MySQL, PHP, and Perl. It’s a simple and lightweight solution that allows you to create a local web server for testing purposes.
Since XAMPP is cross-platform, it also works on Mac and Linux, but today we’re going to focus on how to set up XAMPP on Windows 10.
WordPress isn’t a stand-alone application and requires server software in order to run. XAMPP provides the necessary environment needed to run WordPress on a local machine.
Installing XAMPP
Go to the Apache Friends website and download XAMPP.
Once downloaded, launch the installer.
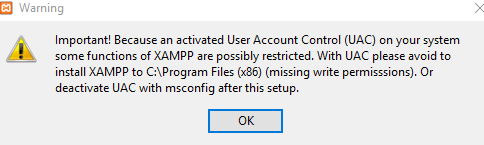
During the install process, you may receive warnings such as Windows asking you if you’re sure you want to install the software and the installer prompting you about antivirus software. As you would when installing any software on Windows, use your best judgment, but you probably want to click “Ok” to continue with the install.
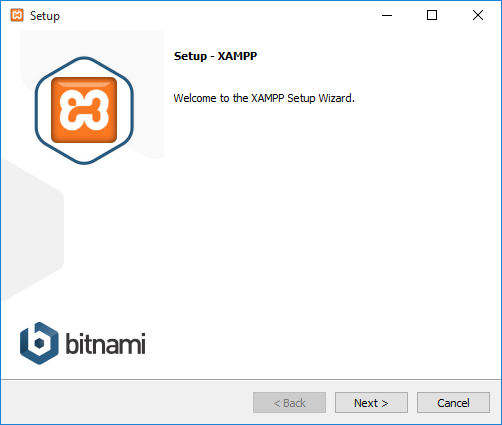
The XAMPP setup wizard will guide you through the installation. Click Next.
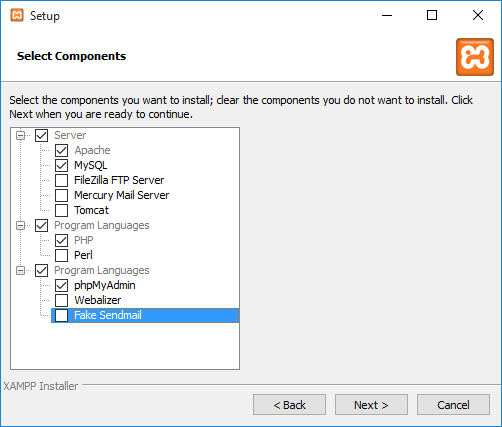
In the next window, you will be asked to select which components of the software you would like to install and which ones you don’t want. Some options, such as Apache and PHP are essential to running the software and will at automatically installed, so they are grayed out so you can’t select them.
It’s up to you which components you want to install. Since we want to run WordPress in our localhost environment, we need MySQL and phpMyAdmin. Therefore let them be checked and uncheck the remaining options.
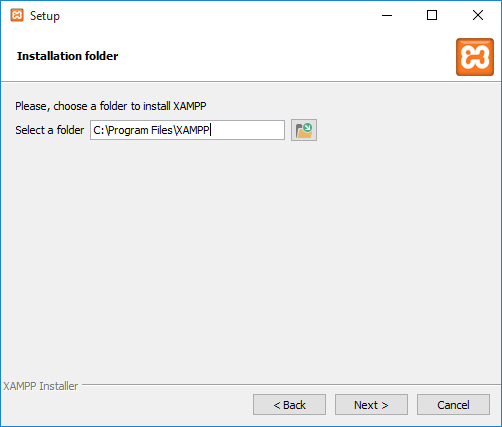
Next, select the folder where you would like to install XAMPP on your machine. We recommend you to use the partition other than your operating system drive partition because even if you decide to change the operating system later you won’t lose any of your current work. I’m going to create a new folder in D:\Program Files\XAMPP.
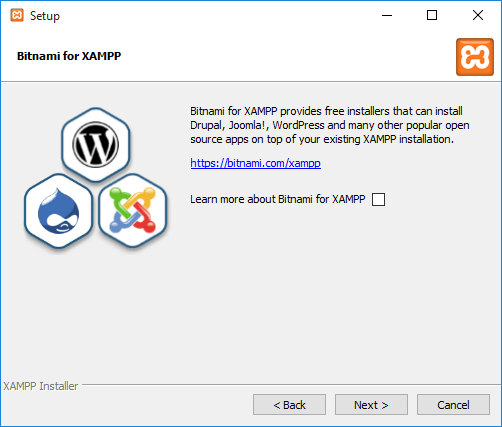
In the next window, you’ll be asked whether you would like to install Bitnami for XAMPP, which offers free tools for installing WordPress, Drupal, and Joomla! on top of XAMPP.
Since we’re going to install WordPress manually later in this tutorial and don’t need free installers, untick “Learn more about Bitnami for XAMPP” and click Next.
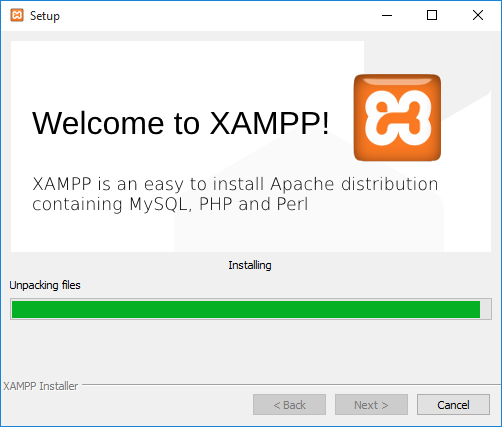
After going through all those initial installation steps, XAMPP is now finally ready to install. Click Next.
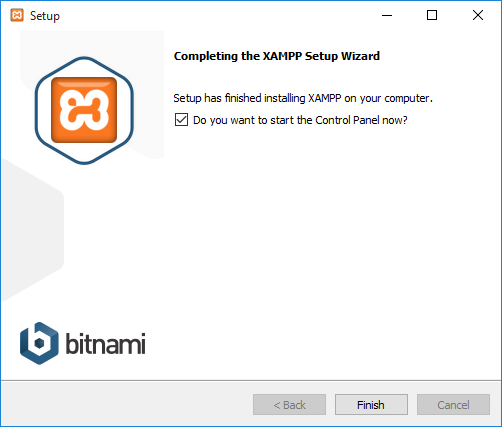
Once installed, you’ll be asked whether you would like to start the XAMPP Control Panel, which provides an interface for running your localhost environment. Leave this option ticked and click Finish
After finishing the installation:
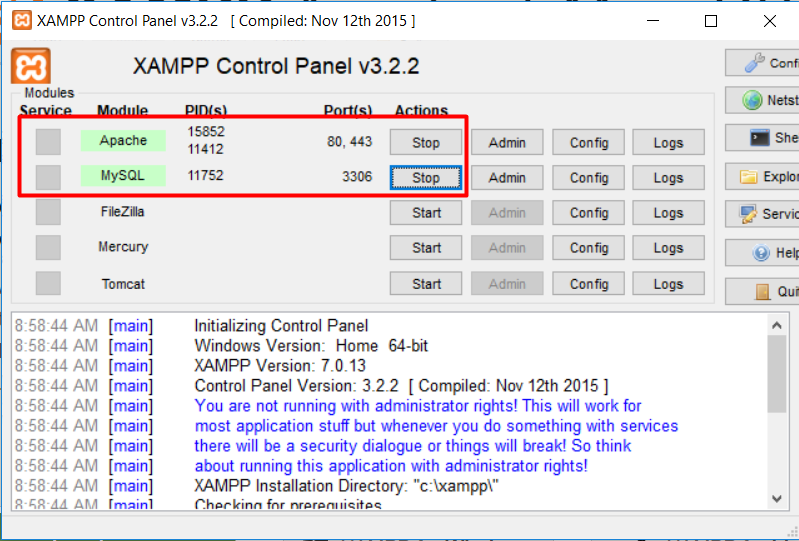
If the installation process went well and everything is running smoothly, the control panel will then automatically be opened after that. You will see the start button next to Apache and MySQL. Go ahead and click the start button.
Then, in some installations, you may see a Windows firewall notification as shown in the image below. Click on the “Allow Access” button for both Apache and MySQL so as to run the applications.
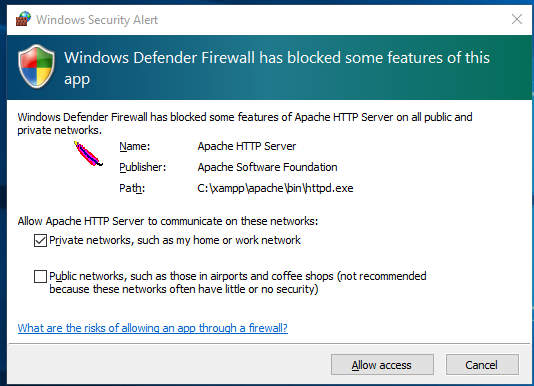
After clicking the button, the status for them will turn green. Now, You have successfully installed XAMPP on your computer. You can install WordPress or run PHP files using this server on your computer locally. You don’t need any live server to run such files.
We think you are waiting to know how to install WordPress on your local server and start developing your website. So, let’s explore how to install WordPress on your computer.
Downloading & Installing WordPress
Now, after you have successfully installed localhost on your computer the next step you should be doing is downloading and installing WordPress on your localhost.
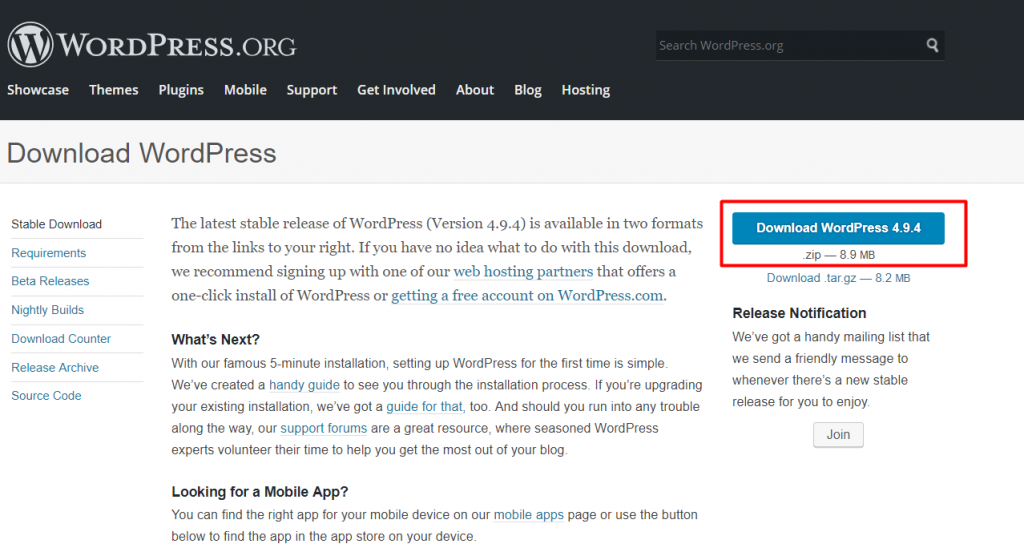
First, download a fresh copy of the latest version of WordPress from www.wordpress.org.
WordPress file will be downloaded in zip format. Extract the contents and copy them to the new folder. Rename the folder as you like for example here we have named it “wordpress1”.
Now open your directory where you have installed the XAMPP server (by default it is C:\XAMPP) and open the “htdocs” folder located inside your XAMPP.
Copy and Paste your wordpress1 folder in here.
Setting Up Database
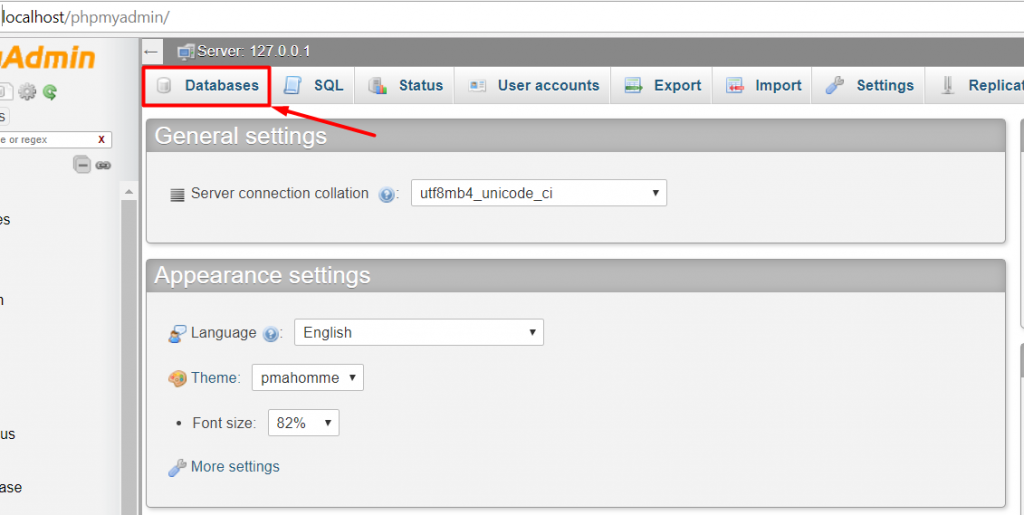
Open your web browser and go type the address as “localhost/PHPMyAdmin”. Make sure your localhost server is up and running with Apache and MySQL.
The following page shown in the figure will display on your screen:
Now, select the database and create a database for your WordPress, let’s say for e.g. “table” as shown in the figure below.
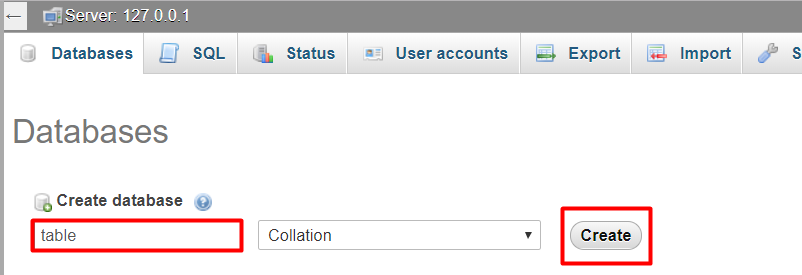
Simply click on create and your database is ready to use.
Now, after we have successfully created the database for our WordPress let’s head towards installation.
Once again open the web browser and type the address as localhost/(your WordPress folder name) eg: “localhost/wordpress1” in our case.
After this, the following page will be obtained as shown in the figure below.
Click on the button ”Create a Configuration file” on the same page.
after performing the above step, on the next page click on the “Let’s go” button.
Now, this is a very important step. You need to be a little careful here. Keep in mind a few things and proceed in this way:-
- Database Name should be same as that what you have created earlier for your WordPress. Eg: table in our case.
- Username is “root” by default as per MySQL username.
- The password should be left blank if you haven’t mentioned it at the time of creating your database otherwise type the same one if you have mentioned it earlier.
- Leave the other fields as it is. Now, your page should look like as shown in the figure below. At last click on “Submit” button to proceed further.
After this simply fill the respective fields on the next page and at last click on the button “Install WordPress”.
And finally here comes your destination point.
Hurray! you have successfully installed WordPress on your machine.
Just to make sure that you have done all the steps in a perfect manner, you can log in to your account.
Installing WordPress is a lot easier than any other work.
Once you become familiar with this exciting platform, you can do anything from blogging to making a website. It is all free.
This post was only about installing WordPress on Localhost (XAMPP server), however, you can check our previous posts and learn a complete tutorial series to understand the process after installing.